Autopot Aquavalve 5 & Replacements
Autopot Aquavalve 5 & Replacements
Couldn't load pickup availability
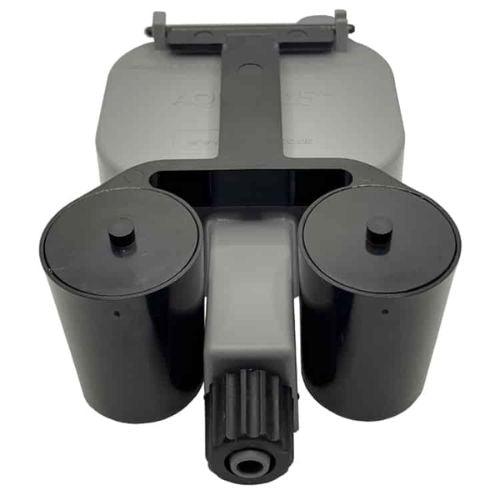
Autopot Aquavalve 5 & Replacements.
The new Autopot Aquavalve 5 is here !
Aquavalve 5 – a 66% Bigger Inlet
The needs of growers are ever-evolving, served by an increasingly diverse range of nutrients. With a bigger, 5mm inlet, the new Aquavalve 5 rises to the challenge of delivering the widest range of nutrients in a faster flow for a quicker fill, maximizing system efficiency. Maintenance is reduced and the risk of blockages is minimized.
Compatibility:
Autopot has made it easy to switch your existing systems to the new Aquavalve 5:
The new Autopot Aquavalve 5 is connected to 9mm Autopot Piping, for which various fittings are available. Simply drill out your existing water tank or feeding tray (e.g. Auto 9 XL or Auto8 tray) supply hole to a 12.5mm diameter size. This will allow you to fit a 9mm Top Hat Grommet into the hole, which will accommodate the Aquavalve 5’s 9mm Autopot piping.
If you are currently using a 12mm trunk line, simply switch out your old 5mm T or Cross Connectors to the new 9mm Cross Connectors or 9mm T Connectors.
AQUAValve5 for systems using 9mm and 12-9mm fittings.
AQUAvalve silicone Replacements:
AQUAvalve silicone seals are inserted into the recesses in the top & bottom floats of the Autopot AQUAvalve.
The old AQUAvalve with its 3mm inlet uses the same (small) seal for both the top and bottom floats. (Blue or black colored valves)
The NEW AQUAvalve 5 with its 5mm inlet uses a small silicone seal for its top float and a larger silicone seal for its bottom float. (Grey colored valves)
PLEASE NOTE: Batches of silicone seals vary in color from time to time and they may be yellow, red, blue, etc. The function of these seals remain the same – to seal off the various floats that make up the working parts of the AQUAvalve.
At the end of your growing season clean the AQUAvalve using warm soapy water. Using an old tooth brush will help. The AQUAvalve is easily disassembled. The top float will slide all the way across and the bottom float is unclipped from its pivoting position. At this point it is advisable to remove the silicones to avoid them being lost.
Making sure your AQUAvalve floods and drains correctly is simply achieved and only takes a few seconds. Hold the AQUAvalve at eye level so that you can see the silicon fitted to the top float resting on the hole below it. The yellow silicon must create a tight seal when touching the hole. If it looks like it is not sitting parallel on the hole below simply lift the top float and apply pressure to one side of the silicon, drop the float and hold at eye level again. Repeat the procedure again if necessary.
Available in: Small & Large
Looking for a Autopot Aquavalve 5 & Replacements for your beginner or pro set up? Visit Skyline Vape & Smoke Lounge today, or check out our online store for more.
We Don't Just Ship to Johannesburg, Cape town & Durban we ship Nationwide Anywhere in South Africa